Posts mit dem Label Haarkur selbst gemacht werden angezeigt. Alle Posts anzeigen

2015/05/30

Review: Bodyshop Rainforest Coconut Oil vs. Pure Organic Coconut Oil


Hello Lovelies!

I have a coconut oil party going on today :D As you all know, me my hair and I simply love coconut oil. I like to use new versions that are infused from time to time. As mentioned a hundred times before, I absolutely love the Dabur Vatika Oil, it contains henna, amla and lemon extracts. Smells great and works very well as a prewash treatment.

My newest addition is the Rainforest Coconut Oil by Bodyshop. 

I had some trouble to find the incis but here they are:
Glycine Soja Oil/Glycine Soja (Sojabohnen-) Öl (Emolliens/Hautpflegemittel), Cocos Nucifera Oil/Cocos Nucifera (Kokosnuss-) Öl (Emolliens/Hautpflegemittel), Parfum/Fragrance (Duftstoff), Tocopherol (Antioxidans), Pentaclethra Macroloba Seed Oil (Hautpflegemittel, Pracaxi-), Helianthus Annuus Seed Oil/Helianthus Annuus (Sonnenblumen-) Samenöl (Emolliens), Rosmarinus Officinalis Extract/Rosmarinus Officinalis (Rosmarin-) Extrakt (Adstringent), Coumarin (Duftstoffkomponente), Citric Acid (pH-Regulator).

As you can see it is based on soya oil and then contains coconut oil, sunflower oil and rosmarinus extract. Technically it is not a coconut oil but an oil blend. It is a very light weight oil that sinks in immediately and it is not solid like the other two coconut oils. The smell is very nice and tropical but it is the typical artificial coconut smell and not the rather nutty natural smell of the extra virgin oil. The best part is that the shine is incredible. It does need some tome to sink into your hair so you need to be careful not to put in too much. I know that some hair types do not like coconut oil so much, this infused oil might be worth a try. I had great results regarding to shiny hair, especially when used in damp hair. Definitely a recommendation and easy to carry around and use since it is always in a liquid form.

Ways to use Coconut Oil:

  • Put lots and lots in your dry hair the night before you wash it. Let it sit overnight and work it's magic. Live your Rapunzel moment the next morning ^^
  • Use as a leave-in treatment in dry hair - just 2-3 drops are enough. Start at the ends working your way up.
  • Use as a scalp treatment with with 2 drops of essential tea tree oil - warm the mix up and apply to a non-irritated scalp and let sit for 20 min. Wash out with regular shampoo.
  • Use to define your curls and waves - Mix equal parts of organic Aloe Vera Gel and Coconut Oil and work into your damp curls.


Are you coconut oil addicted like me? Oh and btw coconut oil is a great make up remover as well :D I would like to hear some of your recipes!





2013/07/21

Care: Olive Oil Deep Conditoning Treatment


The deep olive oil treatment is one of my favourite deep oil treatments and mostly the most common hair treatment since the ancient greek people :) Feel as pretty as Aphrodite with soft and shiny hair. Olive oil has a lot of benefits - it can soak through your hair because the molecule structure is small enough and will give you a very strong shine. However, since olive oil is a very heavy oil and I have problems to rinse it out properly, I like to mix is with 1/4 of conditioner to help the rinsing process and still benefit from the deep conditioning. This treatment works best on damp hair and you should try to keep your hair wrapped in a warm towel or in foil to benefit the most. Olive oil is available in nearly all household - makes this treatment a good idea if you are not home and full equipped but still want to acre for your hair. The shine and softness is amazing - I only do this treatment once a month and I am always very happy with the results. 

DIY:

- 1 tablespoon of any light conditioner
- 4 tablespoons of extra virgin olive oil
- Stirr well and if you have access to a microwave heat the oil a little before you apply it on damp hair.
Wrap with a plastic foil and put a towel on top to keep the heat - leave in for 30 min. or more and rinse out with a mild shampoo. Enjoy the shine and softness :)
Diese Olivenoelkur ist eines meiner aeltesten und liebsten Rezepte, Oliveoel wird schon seit vielen hunderten von Jahren in der Haarpflege eingesetzt. Olivenoel ist ein tolles Oel, weil es aufgrund der kleinen Molekülgröße in das Innere des Haares eindringen kann. Es ist sehr reichhaltig und auch sonst ziemlich lecker im Salat :o). Ausserdem sorgt es fuer tollen Glanz ist aber etwas hartnäckig wenn man es ausspuelen will. Deswegen mische ich es gerne mit etwas Spuelung - man erhaelt den Pflegeeffekt uns erleichtert das Auswaschen. Am Besten funktioniert diese Kur Packung in feuchtem Haar welches leicht warmgehalten wird (Frischhaltefolie, Handtuch,Foen, Waermeflasche, Frettchen ;p was auch immer). Es ist ein prima Rezept fuer unterwegs -fast jeder Haushalt hat Olivenöl und man kann trotzdem fuer seine Haare sorgen auch wenn nicht die halbe Hexenkueche zur Verfügung steht. Ich mache diese Kur ca. 1 mal im Monat und freue mich immer wieder wie weich und durchfeuchtet meine  doch etwas knirschigen Spitzen werden.

Rezept:

- 1 Essl. leichte Spülung (z.B. Alverde Zitrone Aprikose)
- 4 Essl. Olivenoel
- Olivenoel erwaermen - gut mischen und auf handtuchtrockenes Haar auftragen - in Folie wickeln, Handtuch drauf -  nach 30 min mit einem milden Shampoo ausspuelen.

Liebste Gruesse, Zoey :)


2013/03/19

DIY Hair Treatment - Lemonade for Hair

Huhu ihr Lieben!

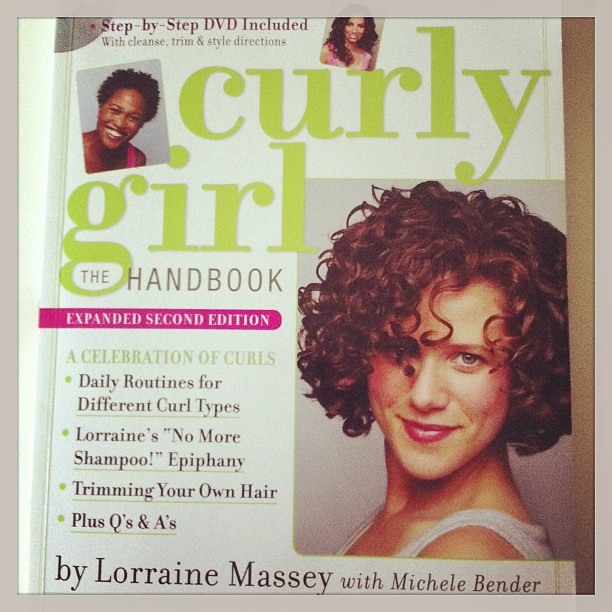
Ich habe gestern ein Rezept von Lorraine Massey - dem curly girl Guru ausprobiert und bin einfach begeistert von dem Ergebnis. Ihr braucht nicht mehr als eine Zitrone und eurem momentanen Lieblingskondi und schon geht es los. Meine Haare waren schon lange nicht mehr sooo lockig und glänzend weich. Ich hatte erst etwas Angst vor der Zitronensäure aber meine Bedenken waren unbegründet :) Nur allzu oft sollte man das nicht machen. Ich denke 1 x im Monat ist definitiv genug. Diese Haarkur ist besonders gut für diejenigen unter euch geeignet, die in harten Wasser Regionen leben, denn die Zitronensäure wird den ganzen Kalk von der Haaroberfläche entfernen der die Haare stumpf erscheinen lässt.


Ihr braucht:


  • den Saft einer grossen (Bio) Zitrone, am Besten ohne Kerne und Teilchen :) 
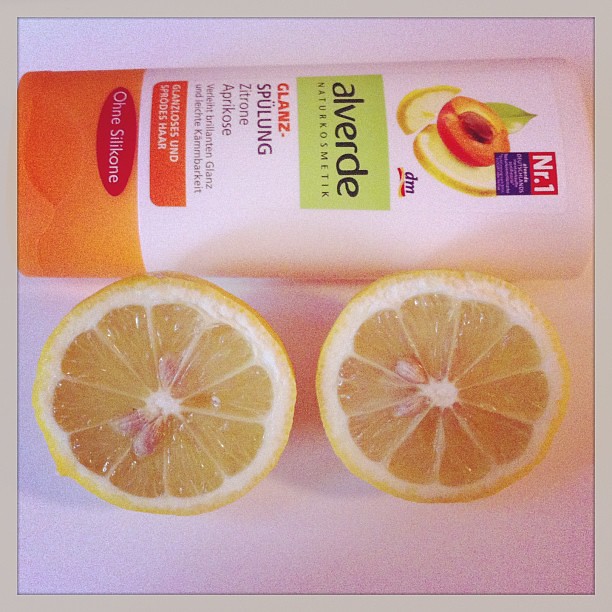
  • ca. 5 Essl. eures Lieblingskondis ( ich habe den Alverde Zitrone Aprikose genommen)
Anwendung:
Haare waschen und reinigen nach eurer Methode. Ich benutzte die Kondi-Waschen-Kondi Methode (im englischen CWC). Ich verwende auf ca. 2 l  ca. 1 haselnussgrosse Menge verdünntes Shampoo. Dann als letztes C habe ich die oben angerührte Zitronen-Kondi Mischung genommen.  Auftragen ab Ohrhöhe bis zu den Spitzen. Nach 20 Sekunden gründlich auswaschen.

Über die Curly Girl Methode


Die Curly Girl Methode ist für Lockentypen aller Art geeignet und verwendet nur Spülung für die Haarreinigung und spezielle Trocknungsmethoden. Da ich Wellen- Locken habe wäre sie auch für mich geeignet, aber ich mag keinen Kondi auf der Kopfhaut und durch diese Methode brauchen meine Haare Ewigkeiten bis sie trocken sind. Wirklich ca. 10 h. Soviel Zeit habe ich dann bei aller Haarliebe doch nicht. Wer sich dafür interessiert - sie hat ein tolles Buch geschrieben. 


-----------------------------------------------------------------------------------------------

Hello Lovelies,
Yesterday I tried a Recipe of Lorraine Massey's she is the curly girl guru ^^ and has invented a care routine and written a very nice book about the curly girl method. I was initially afraid of the lemon acid, because this recipe contains addind a large lemon to your favourite conditioner. I tried it and I loved the results. I can not remember the last time my hair has been this shiny and soft, I am so happy about the results. This DIY hair treatment will be especially great if you are living in hard water regions like I do. The lemon juice will remove the build up from your hair which causes your hair to look dry and makes your hair feel hard. I would however not recommend to use this treatment on a daily basis - I guess once a month would be enough for sure.

You will need:

  • juice of a large lemon preferably an organic one - minus the seeds and like lemon pieces
  • 5 Tblspoons of your favourite Conditioner, (I have been using Alverde Zitrone Aprikose, it is an inexpensive german organic brand)

Instructions:
Clean your hair with the method of your choice. I am always using the CWC Method.  I wash my hair with diluted shampoo, about a hazelnut size of shampoo combined with 2 litres of water. As the last C I used the lemon mixture. Apply from ends to about ear height , leave in for 20 sec. and rinse thoroughly.

 About the curly girl method

The curly girl method has been invented by Lorraine Massey and is great for all types of curly hair. African hair will especially benefit from this method as well as any type of curl. My hair is naturally curly to wavy so the method would work for me as well. I do not use it for some reasons though. First of all i do not like to have conditioner on my roots - it will weight my hair down and make it flat, second - the time my hair needs for drying after I use CO method. It will need to dry about 10 hours - by all the love I have for my hair - I do not have this much time to spare. As mentioned above there are some great websites like naturally curly as mentioned above as well as her book. Give it a try :)

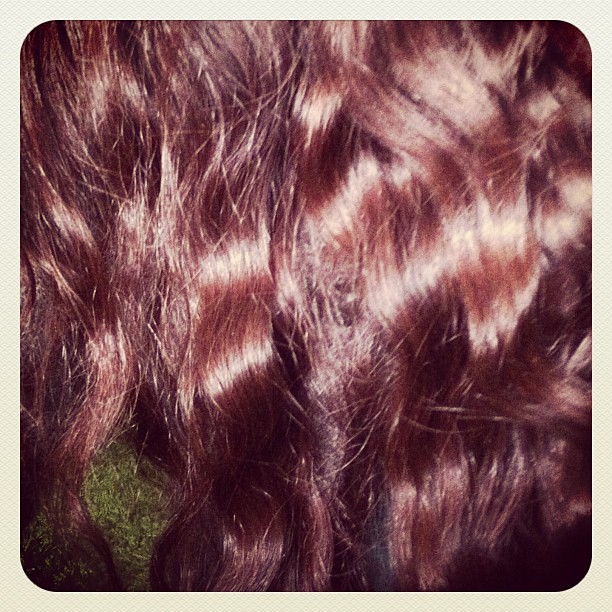
This were my results :


Alles Liebe,

Louisa :)


2013/03/11

DIY - Natural strengthening Hair Treatment for dry, brittle hair


Hello Lovelies! 

The Winter has been really long and the ends of my hair as well as the length have started to look dry and brittle. Scarfs, hoods, dry air caused by overheated rooms will do the rest. Time to do a rebuilding hair treatment to cheer your hair up with lots of proteins. Hair consists of keratin a protein, using an egg will help to fill any gaps and rebuild your structure a little more. I also added my all time favourite organic dark forrest honey, a natural humectant, as well as extra virgin coconut oil to smooth the hair cuticle down and keep the hair hydrated and happy. Coconut oil can actually penetrate the hair shaft because of it's tiny molecular structure.

You need:

1 (organic) egg
1 spoon of extra virgin unprocessed coconut oil
1 spoon of dark forest honey

Please melt the coconut oil before if it is solid, mix it with the honey and the egg. Stirr well unless you want tiny glibbery wobbly bits in your treatment later. (yuck). Then start to put it in your hair from the ends up to the top. Wrap your hair with an old plastic bag to keep the heat in and remember to do this when you are safely alone at home without your other significant half - to keep up the illusion that you at all times look fabulous and flawless without stirring a finger. If your bf or dh lives with you for a long time and knows how obsessed you are with your hair - just do what you want and be happy looking like a weirdo.

Keep it in at least 30 min up to 1 h. Important note : rinse with lukewarm to cold water!!! Do not use hot water unless you want to spend endless hours picking small white pieces glued to your hair out of it. Trust me, I had this before -.- Rinse with Shampoo and Conditioner and enjoy your soft moisturised shiny waves.


Love, 
Louisa :)


Hallo ihr Lieben!


Der Winter ist wirklich lang und meine Längen und Spitzen fangen langsam an fisselig und spröde zu werden, Heizungsluft, Kapuzen, Schals und Mützen geben dem Haar den Rest. Zeit fuer eine wieder aufbauende Haarkur mit Proteinen. Das Haar besteht aus Keratin, einem Protein, deswegen eignen sich die Aminosäuren des Eies gut um als natürlicher Lueckenfueller zu wirken. Ausserdem habe ich meinen Kur Liebling - Waldhonig dazu gemischt und natürlich auch Kokos Öl um die Hornbestandteile des Haares geschmeidig zu halten. Das Gute an Kokos Öl neben dem tollen Duft ist natürlich auch die Eigenschaft das es bis ins Haarinnere eindringen kann, die Molekülgroesse ist klein genug. 


Das braucht ihr:

1 (Bio) Ei
1 Essl. Waldhonig
1 Essl. unraffiniertes Bio Kokosöl 


Bitte vorher das Kokos Öl auf der Heizung oder im Wasserbad schmelzen, das Ei hinzugeben und dann den Honig untermischen. Wichtig ist, dass ihr ordentlich rührt damit ihr hinterher keine Glibber-Fäden (iih bäh) in der Haarkur habt. :D Dann fangt an das Ganze von den Haarspitzen (sind im meisten Fall am stärksten geschädigt) bis zu den Wurzeln aufzutragen. Damit die ganze Suppe hinterher nicht überall kleckst und klebt  und um die Wärme zu erhalten - packt euch eine Plastiktüte um die Haare. Ihr seht dann genau so verrückt aus wie ich unten. 
Ach ja, ein Tipp am Rande : macht das wenn ihr allein zu Hause seid und der Freund/Mann beim Fussballspielen oder sonstigen Testosteron huldigenden Aktivitäten ist, um eure feminine Würde und die Illusion das ihr ganz einfach immer perfekt ausseht zu erhalten :). Lebt der Freund allerdings schon länger mit eurem Haarfimmel könnt ihr darauf getrost verzichten. 
Ca. 30 min - 1 h einwirken lassen. Ganz wichtig : mit kühlerem Wasser ausspülen - sonst gerinnt das Ei im Haar und ihr habt eine kleine Lebenskriese während ihr stunden(!)lang damit beschäftigt seid, die kleinen weissen Fissel raus zu pflücken. Alles schon passiert -.- Mit Shampoo und Spülung ausspülen und dann an wunderbar weichem glänzenden Haar erfreuen.

Louisa :)

2012/11/08

Do it yourself - reichhaltige stimmungsaufhellende Sheabutterhaarkur

Hallo ihr Lieben!

Hier findest ihr ein reichhaltiges, einfaches und kostengünstiges Rezept für eine wirkungsvolle Haarkur die ihr selbst herstellen könnt.
So sehr ich den Herbst mag - meine Haare finden ihn alles andere als toll. Statisch aufgeladen, trocken und aufgeplustert und zutiefst von der trockenen Heizungsluft beleidigt, haben sie beschlossen sich in Stroh zu verwandeln. Das fand ich natürlich nicht gut und habe am Wochenende dafür gesorgt das sie wieder ordentlich Glanz und Nährstoffe erhalten. Eins vorweg, diese Haarkur ist super für trockenes Pferdehaar, chemisch blondierte Haare geeignet. Ein sanftes Feenhaar wird wahrscheinlich von der Pflege überrollt und sollte die Haarkur nur in den extrem  trockenen Partien anwenden. Ach ja der beste Zeitpunkt ist z.B. ein Wochenende ohne großen Unternehmungen - es kann schwieriger sein weil sie danach überpflegt sein können.


Rezept:
1,5 Eßlöffel Sheabutter
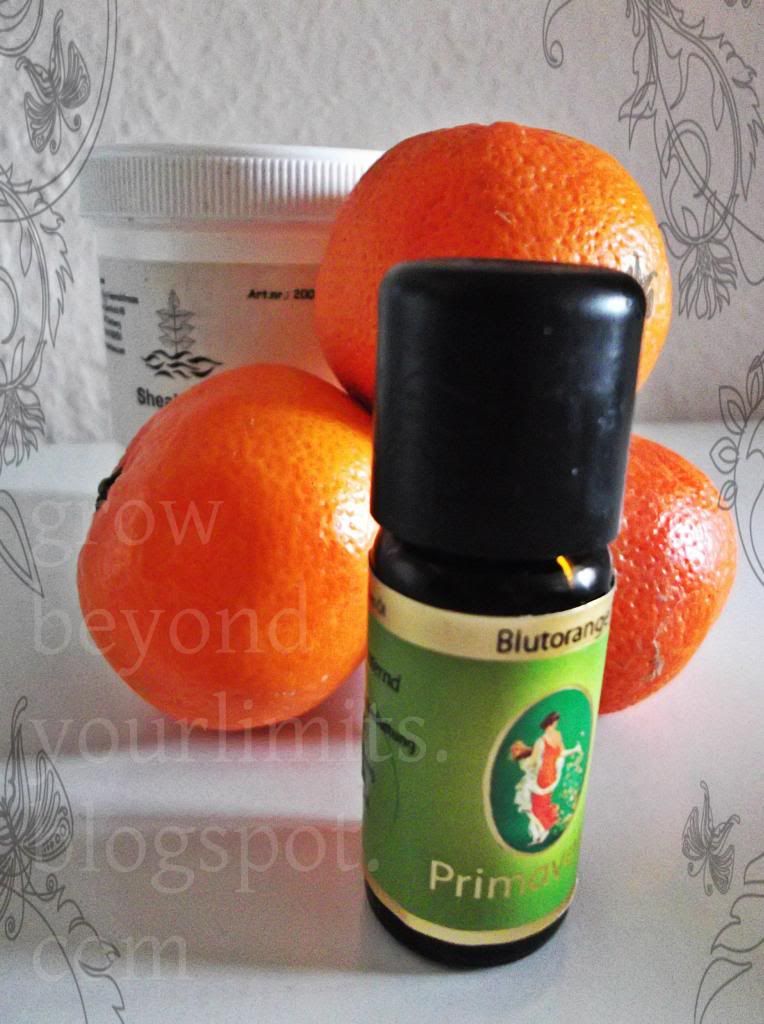
10 Tropfen ätherisches Blutorangenöl

How to:
Schmelze die Sheabutter in einem Gefäß über einem Wasserbad. Lasse sie unter Rühren langsam abkühlen und gebe das Ätherische Öl hinzu. Diese Mischung auf das trockene, unbehandelte Haargeben, bis zur Kopfhaut, dort sanft einmassieren und in einem Dutt gedreht min. 1 h einwirken lassen. Beim Auswaschen warmes Wasser verwenden und erst eine leichte Spülung auf die Haare geben, 2 Min. einwirken lassen und dann verdünntes Shampoo 1-2 Mal je nach Bedarf.

Sheabutter ummantelt das Haar, deine Kopfhaut wird es lieben und es hilft bei hartnäckiger Trockenheit. Durch das ätherische Öl werden deine Haare die ganze Zeit wundervoll duften und Orangenöl hilft auch gegen den Novemberblues der ja gerade die Runde macht. Viel Spaß beim Nachrühren! Ach ja meine Haare haben noch zwei tage danach nach Orangenblüten gerochen :)

Liebste Grüße,
Louisa :*


2012/07/19

einfache Haarkur für trockene strapazierte Haare selber machen -Tutorial- Snowy's Moisture Treatment

Hallo ihr Lieben!

Heute stelle ich euch mein Lieblingshaarkur Rezept vor.
Es wirkt wundervoll, ich wende es regelmäßig ca. alle zwei Wochen an und es sorgt für Feuchtigkeit und Glanz bei meinen sehr trockenen Haaren. Es ist sehr einfach, die Zutaten hat eigentlich jeder zu Hause und auch noch günstig :)- Was will man mehr. Der Ursprung dieser Feuchtigkeitshaarkur stammt aus dem  LHC von einer Userin die Snowy heißt, deswegen auch dieser Name.  Hier findet ihr den ursprünglichen Post.

Rezept :


-1 Eßl. Aloe Vera Gel 
(Saft oder 100% Gel aus der Apotheke, in meinem Post zur Sommerhaarpflege habe ich dazu auch nochmal etwas kurzes geschrieben)
-1 Eßl. Waldhonig
-4 Eßl. einer Feuchtigkeitsspülung 
(mein absoluter Favorit ist hier die Feuchtigkeitsspülung von Alterra Granatapfel Aloe Vera )


Quelle: http://www.mialoevera.com/images/aloe%20vera-mialoevera.jpg


How to :

Gebe die Spülung in ein kleines Gefäß, vermische den Honig gründlich, gebe Aloe Vera hinzu.
Auf leicht angefeuchtete Haare (am Besten nach der Wäsche) auftragen, 10 min bis zu 1 Stunde einwirken lassen, sanft ausspülen und Luft trocknen lassen. Und am Glanz erfreuen :) 


Liebe Grüße,
Louisa :)
 

LinkWithin

Related Posts Plugin for WordPress, Blogger...